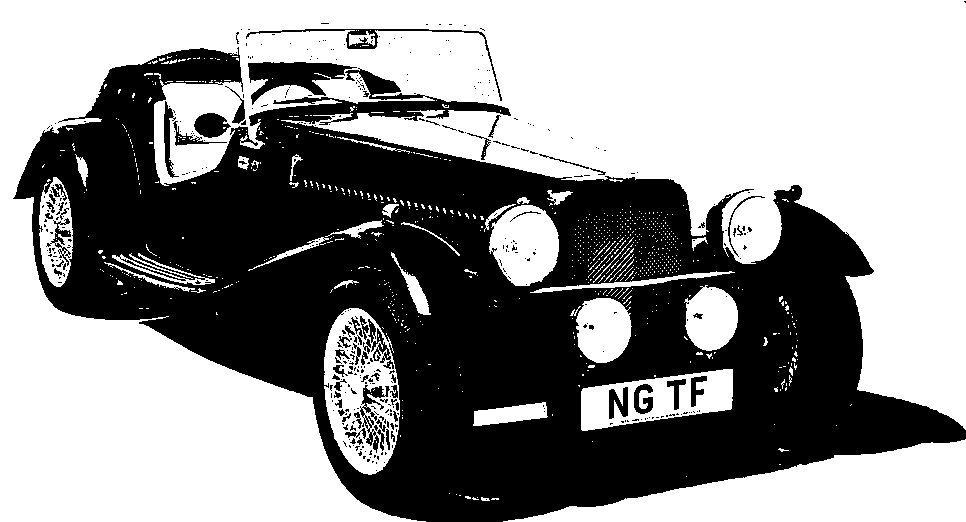
NG Kit Car
Spare Wheel Bracket
January 2008 (Correction)
The spare wheel attachment consists of a simple bracket bolted to the back sloping surface of the body tub which I had re-enforced with a plate on the inside during the build. Basically, as the centre badge was tightened, the tyre pressed against the body and the bracket was pulled up into the wheel. After some time, I noticed stress cracks had appeared in the painted surface of the GRP (these can just be seen in photo 1 to the nearside of the bracket). Also the paint had worn away in some areas where the tyre rubbed the body surface.
I decided to further re-enforce the area. I cut a panel from a sheet of 10mm MDF board large enough to reach to the mountings for the luggage rack. This board was clamped between the steel re-enforcing plate and the body panel and longer luggage rack bolts were used to secure it at the corners (photo 2). This made the whole rear body panel stiffen considerably. I also covered the board with carpet effect fabric to match the interior (a roll of this had been purchased when I built the car but never used).
I also obtained some 1.5mm rubber sheet, cut a ring and glued it onto the rear body for the spare wheel to rest on. This not only covered the unsightly bare marks but provided a grip for the tyre (photo 3). I modified the centre fixing by adding a spacer so that it tightened hard onto the bracket with a spring washer but only exerted minimum pressure on the wheel to hold it firm. The result is firmer, more elegant and less stressed.
April 2024 (Improvement)
I had always intended to line the rest of the boot with the same carpet effect fabric I used on the reinforcing board. Using some lining paper for templates, I cut 4 pieces of fabric and glued them to the remaining bare sections of the boot (photos 4 & 5).

showing damage & stress cracks

to re-enforce spare wheel bracket


showing damage & stress cracks