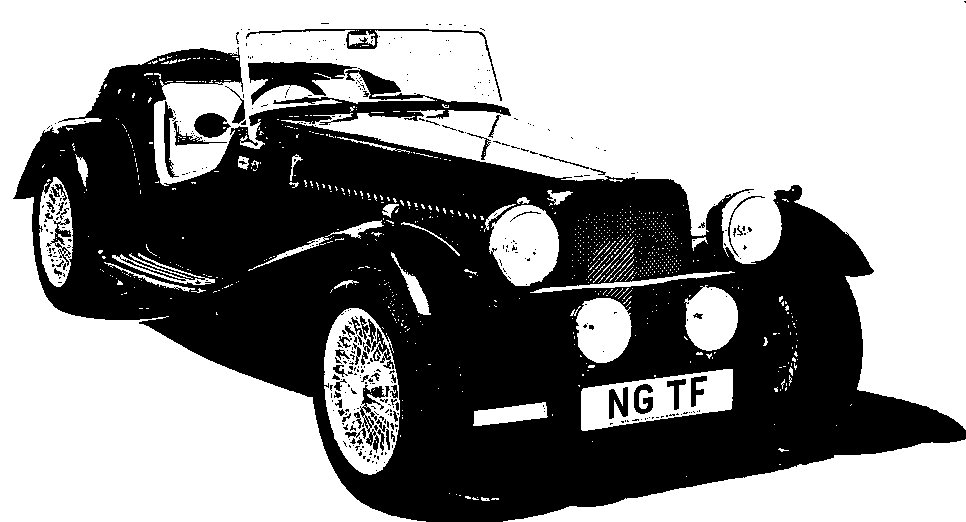
NG Kit Car
19.1 Lighting Particulars
Headlamp Bowls
The headlamp bowls need to be fitted so that the front face is vertical and in line with each other. To achieve this I made up some wedge shaped acrylic spacers to fit under and inside the mounting flange (photo 1).
For further stability, the bowls are also fixed to the front cowl. Aluminium spacers (which will be polished) are used which create a consistent position between each bowl and the cowl. These take some patience to find the best position (photo 2).
The plastic headlamp inserts are screwed onto the flange of the headlamp bowl. I found one part of the flange rather thin (on both bowls) so re-enforced it with some extra resin. The wiring feeds through an additional hole just behind the wing mounting (photo 3).
A chrome ring fits onto the light unit but its securing screw is offset to the nearside. This is fine for the offside lamp but the nearside lamp has no access because of the wing. So I made a small angle bracket for the nearside lamp and mounted it to the offside to take the securing screw (photo 4).
Note: the chrome rims are 8.5" ones (not the normal 8" ones) although they actually measure a little less. The front edge of the headlamp bowls must be rounded anyway so they blend in quite well.
Driving (Spot) Lamps (not mandatory)
Driving lamps are accommodated into the wiring loom and I believe the Cibie Oscar lamps complement the style of the NG (photo 5). I had the bowls painted body colour to match the headlamp bowls.
There was no problem with SVA as they are wired to work only when main beam headlamps are on.
The lamps are fitted onto the cowl's two raised sections. To make the fitting more solid, I made up a couple of supporting brackets (circled in photo 6) which fix to the front steering rack bolts. Although not technically needed, I also riveted an earth tag to each to provide a good earth contact. The wiring was taken through a small hole just behind each light.
Reflectors
These have a central stud and were simply bolted on either end of the valance (photo 8).

showing wedge shaped spacers

with alloy spacers


showing wedge shaped spacers
Fog Lamp
The plan here is to use another Lucas style unit which is to be fitted in the offside of the valance. However, as these lights do not have the appropriate E-marking for fog, it is inadvisable to use it for the SVA test. Instead I mounted a rectangular E-marked fog lamp from the hole (photo 7 - see SVA Particulars).
Reversing Light (not mandatory)
Again I used the supplied Lucas style unit (but only wired in the 21w filament). This was fitted in the nearside of the valance (opposite the fog lamp, photo 8).