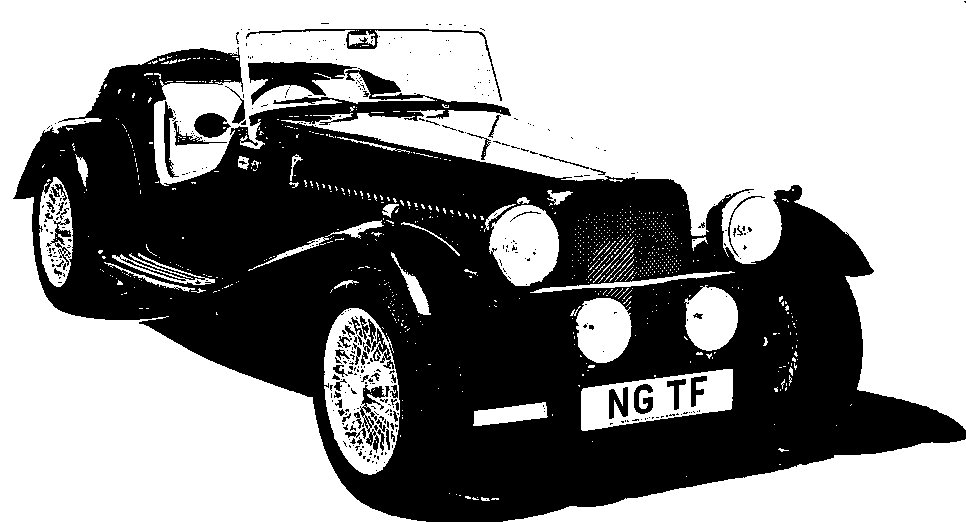
NG Kit Car
14.3 Front Wings
As with the rear ones, the front wing flanges were drilled to take the fixing bolts and screws (again I used stainless steel ones). Earlier models with equal length louvres in the bonnet sides, require a section of flange to be cut away to clear the front ones. However, the bonnet sides supplied to me have shorter louvres at the front so a cut away is unnecessary and instead I was able to provide an additional fixing. I used two holes in the flange which mates with the rear wing and then, clamping the wings together, marked their positions on the front edge of the running board. With these holes drilled, the wing could be temporarily attached at the rear while I focussed my attention at the front end.
After consideration I decided the best height at the front was so that the wing flange "rests" on the ledge in the front cowl (photo 2). Any lower would require modification to the wing at this point, any higher and the wing brackets would not reach. Ensuring the wings were an equal distance from the front of the cowl, I marked the front screw hole on it (photo 3). With this drilled and the wing re-attached, it was then possible to mark the rest of the holes. On each side there are 2 fixings into the body tub and 4 (including my extra one) into the bonnet side panel.
There are also Front Wing Brackets which are designed to support the wings and provide attachment points for a badge bar. Once fitted, the wings are considerably stiffened up but I later decided to make some additional wing support brackets for improved rigidity.
Wing Piping
On final assembly after painting, colour co-ordinated, vinyl wing piping was added as trim between the body and the wings. I pre-punched holes and made snips where the bends demanded it (photo 4). The piping was trimmed for length and the ends were re-stitched. The piping is trapped between the body and the wings giving a neat finish (photo 5).

fitted

meets ledge on cowl

between wing and body

fitted