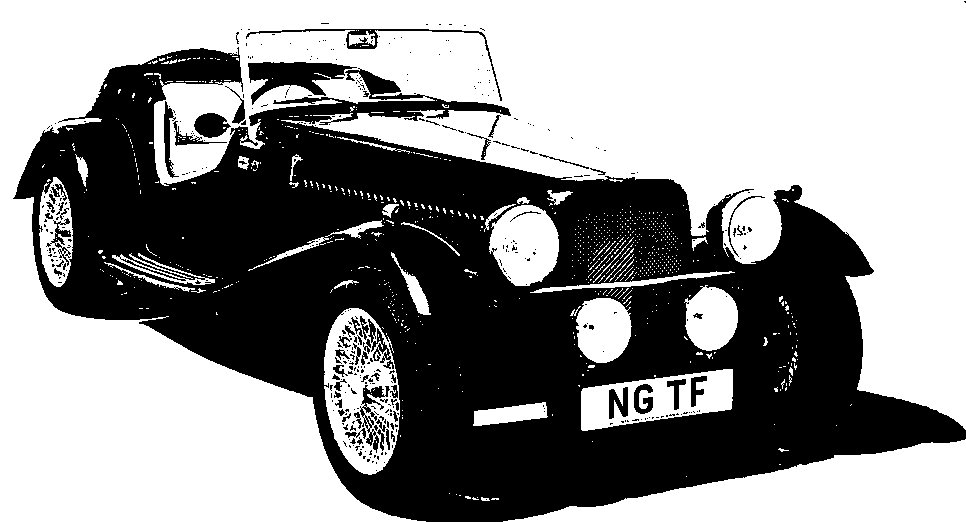
NG Kit Car
18.1 Dashboard Particulars
Additional Holes
All the main openings are already cut or drilled but I needed two additional holes - one for the overdrive switch and one for the hazard warning switch. To drill these, confidence with great care is needed! The main steps are:
-
Mask the area with masking tape (this prevents the drill from slipping and is easier to mark with a pen/pencil).
-
Drill a pilot hole.
-
Drill the main hole with a hole saw or flat wood bit (not a twist drill as it will chew up the surface).
-
IF the hole needs slight opening out, it can be done very carefully with a mini drill type tool fitted with a small sanding cylinder.
The overdrive switch hole already had a recess in the back of the dash but I had to cut a little more thickness away so the switch protruded enough to screw on the ring.
The hazard warning switch hole was rather more awkward. I had to first counter-bore a hole in the back of the dash using a hole saw (with masking tape around to act as a depth guide). This was large enough to take the fixing nut/ring. Then I drilled the main hole from the front using the same centre drill but a smaller hole saw (photo 1). The wood left in the back between the small hole and the large circle was pared away carefully with a chisel to the correct depth.
Glove Box
After cutting off the flange from the supplied plastic box, it was offered up to the dash as outlined in the build manual. I decided to use the existing bottom lip and added plywood blocks to both sides to give 3 fixing edges. I then added an aluminium angle piece with a plywood block mounted for the lock (a standard MGB item). This block acts as both a stop and a catch (photo 2).
The plastic box fixes by being screwed from inside onto all four edges, making it easy to remove if necessary. The extra wood was stained with a walnut stain although it is almost completely hidden.

for hazard switch


for hazard switch